
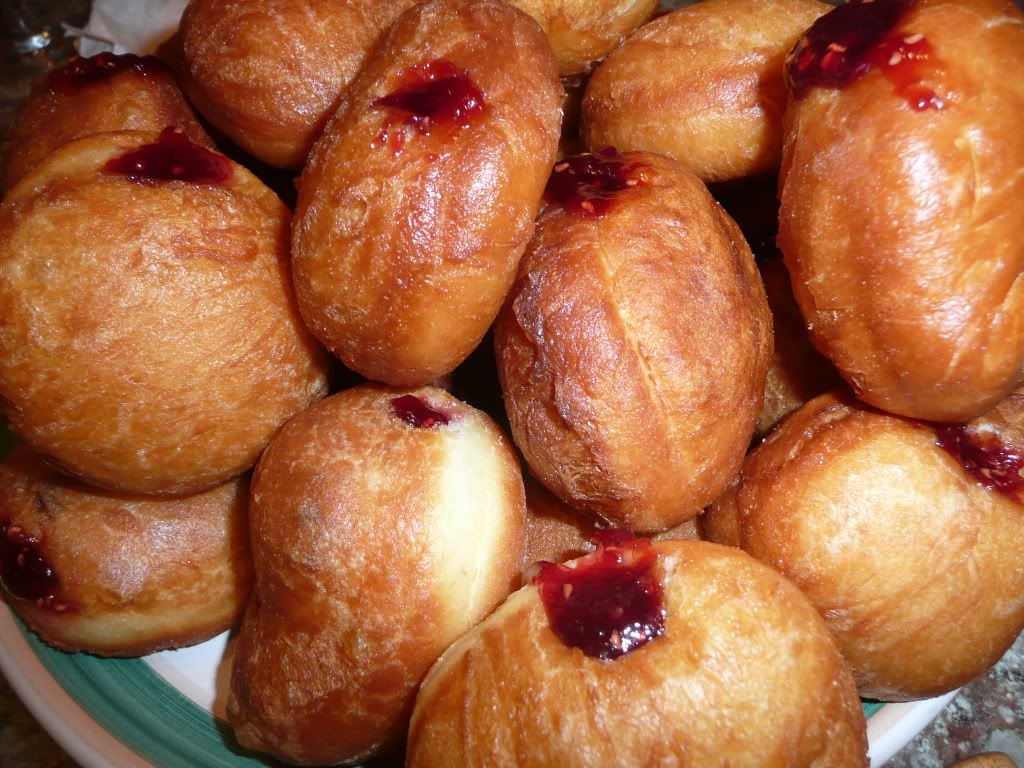
How good is this doughnut? Good enough for you to stop what you are doing and start figuring out when you are going to make some jelly doughnuts (also known as sufganiyot – a Chanukah favorite).
I can’t promise you making your own jelly doughnuts will be easy. But it isn’t really hard, it’s just exacting. So, if doughnuts (or donuts if you prefer) fresh from the fryer, dripping with jam and sprinkled with confectioner’s sugar are your destiny, you can do this.
I used a combination of recipes and techniques gleaned from a number of sources, but primarily from Joan Nathan’s “The Foods of Israel Today” (Knopf). I’ve written down exactly what I used and what worked best for me. I’ve also included some notes on making ahead. There are some major changes and adaptations to Nathan’s recipe based on my experiences and tastes, so if you have any issues or problems, blame me. Please check her cookbook if you’d like to make the doughnuts exactly as she specifies. Looking for a baked, vegan or gluten-free version? Check out the recipes on this site.
This project came out of the desire of some members of my Temple Beth Abraham congregation to learn how to make sufganiyot (also spelled sofganiyot) for this Chanukah (or Hanukkah if you prefer) as part of an on-going effort to learn new Jewish recipes. We were lucky to have someone experienced with deep frying, but everyone took turns rolling, cutting, frying and filling. It was a great experience and we look forward to more "Cooking Jewish" adventures.
Keep reading for the recipe, links to how-to videos, my very specific instructions (including how to make ahead) and more photos.
Makes about 24
Equipment you will need:
Instant read thermometer
Deep fry/candy thermometer
Food processor
Large baking trays, baking or oven rack
Heavy, wide, deep pot
Long tongs or long slotted spoon or skimmer
Thin metal or bamboo skewer or thin, sharp knife
Pastry tip with wide opening and pastry or 1-gallon zipper-style plastic food storage bag
Small strainer
Recipe:1 package dry yeast
3 Tbs. sugar, divided
¼ cup lukewarm water (about 90-100 degrees on instant read thermometer)
3 ½ cups unbleached, all-purpose flour
½ cup lukewarm milk (about 90-100 degrees on instant read thermometer)
1 large egg
1 large egg yolk
¼ tsp. salt
Grated zest of 1 lemon, chopped fine
½ tsp. of vanilla extract
4 Tbs. unsalted butter, at room temperature
Canola oil for deep frying
Raspberry or other jam, about 1 cup
Confectioners’ (powdered) sugar
Dissolve the yeast and 1 Tbs. of sugar in water. Let sit for 10 minutes. Mixture should be puffy and bubbling.
Put flour in food processor bowl with a steel blade. Add the yeast, milk, egg and yolk, salt, vanilla, lemon and remaining sugar. Process with pulses until blended. (Go slowly, I found if I blended the mixture too fast it would overwhelm my fairly large food processor for some reason.) Add butter and process until dough is “sticky yet elastic.” Flour or oil hands and take dough out of bowl and knead for a minute or two on a floured work surface. Oil a large bowl, put dough in it, cover with a dish towel and let rise in a warm place for at least an hour. (Dough can be refrigerated overnight after being placed in the bowl. Let come to room temperature before using.)
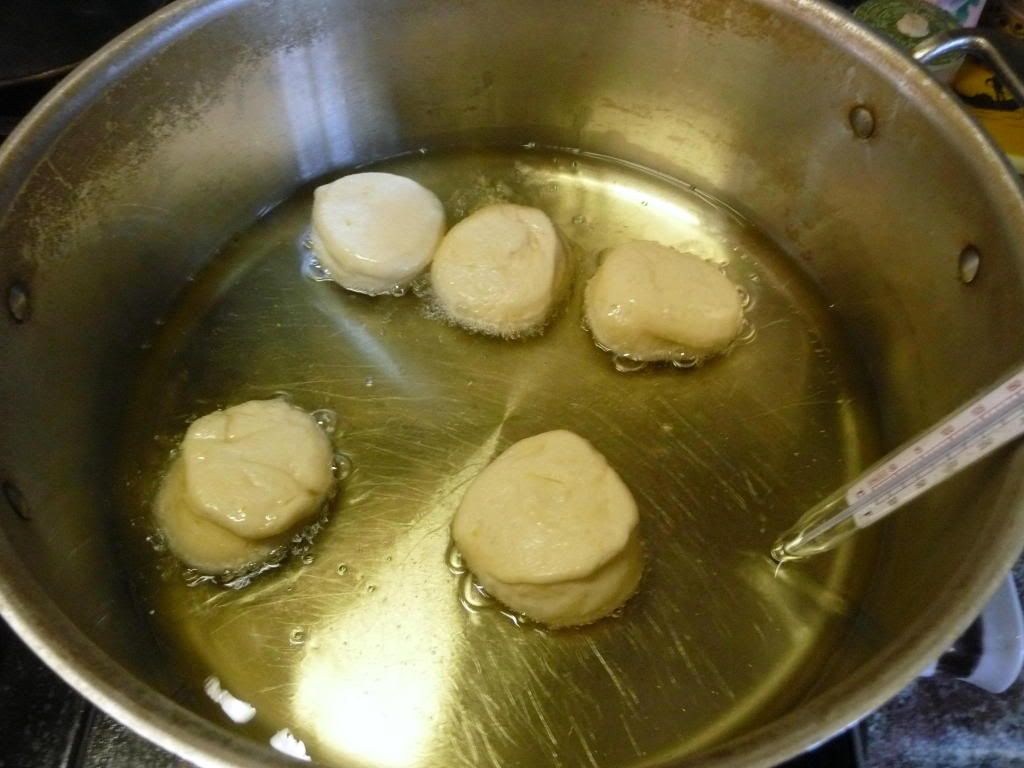
Pour two inches of oil into a heavy, wide pan, clip on deep fry thermometer and heat to 350-355 degrees. You will need to continually monitor the heat. The doughnuts came out best when fried between 350-355 degrees. Be prepared to raise or lower the heat as needed. Also dress for frying by covering clothes with an apron and wearing long sleeves and having oven mitts handy. Want to watch before you fry? Here's a video that shows how.
Break one of the doughnuts open from that first batch once it has cooled to the touch. The outsides should be nicely browned but not overly dark and the insides should be cooked through. If the outside is browned and the inside still has wet, doughy spots, you may be frying at too high a temperature. Be careful not to get the doughnuts too dark a brown by overcooking or using too high a heat, the crust is not as tender and it picks up a slightly burnt taste.
Repeat, adding more oil as needed (being sure to let the temperature return to 350-355 degrees before frying each batch.)
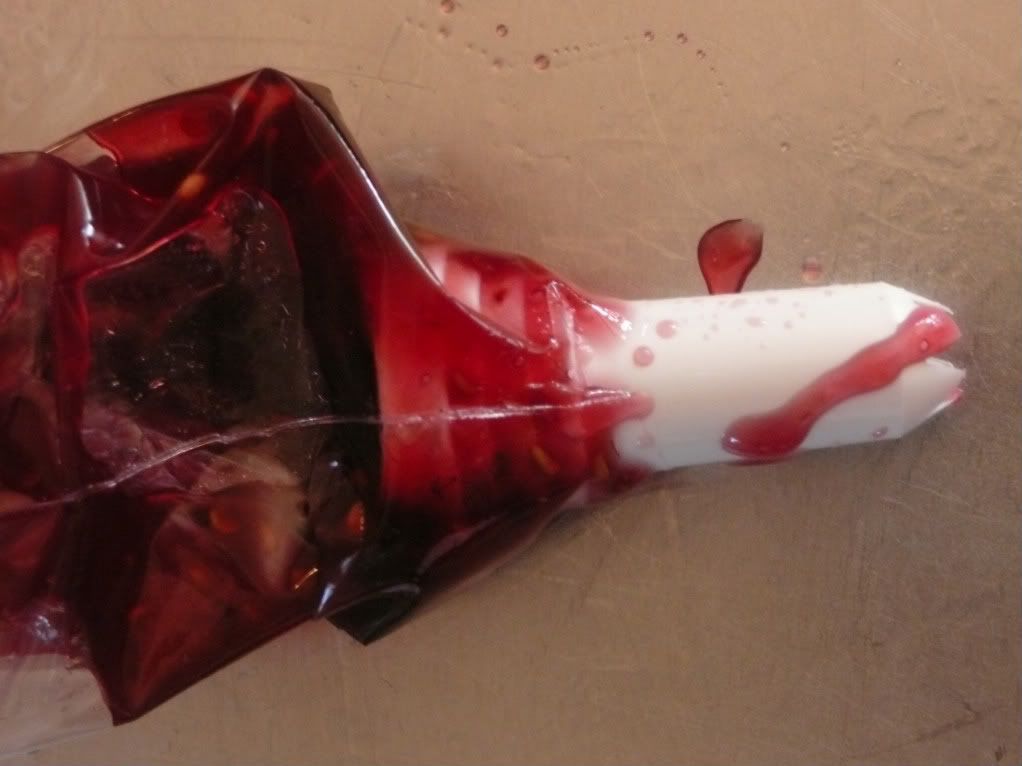
Insert the pastry tip (mine was 1” long with a ½” base) in the pastry bag or in a zipper-style food storage plastic bag with one of the bottom corners snipped off. (I used the plastic bag and skipped having to clean out the pastry bag.) Stir jam to loosen a little and spoon into the bag. (If it is still too stiff to work with, add a little water and stir again.) Push the jam down toward the tip, twist the bag above the jam and grab with one hand above where you twisted the bag. Insert the pastry tip into the doughnut to the end of the hole or channel you’ve made with the skewer. Lightly squeeze the filling into the doughnut at the same time as you are pulling the pastry tip back out, continuing to squeeze until just before the tip exits the doughnut. The idea is that you want to make sure there is filling all the way through the doughnut. The technique takes a little practice. You can cut open the first doughnut to see if you got the hang of it, or you can just eat it to make sure it’s right.
(There are other ways to fill a doughnut, but I have not tried them. Wilton makes a special éclair filling tip that would work well. Some people use a turkey baster to suck up the jam and then squeeze it into the slit. There are also pastry injectors made for this purpose. I think the cake decorating/pastry tip I used worked fine. Some of these are not as long as others, so watch for that, plus you don’t want a fine hole to pipe through, pick one that’s got some width.)
Right before serving, using the small strainer, sift confectioners’ sugar over the top of the doughnuts. (Note: If you sprinkle with the sugar too much in advance, it will soak into the doughnut's crust.) Enjoy and don’t forget to share. Doughnuts are best eaten the same day (if not immediately after) they are made.
5 comments:
OMG!!~!~!!!!!
My first time here (thanks to Dianne J) and I love it! Happy Happy Hanukkah and I wish I had made these wonderful donuts today. They look out of the world! And your description is perfect.
Sam and Jamie -- thank's for commenting. The wonderful thing about jelly donuts -- so appropriate for any occassion.
Faith
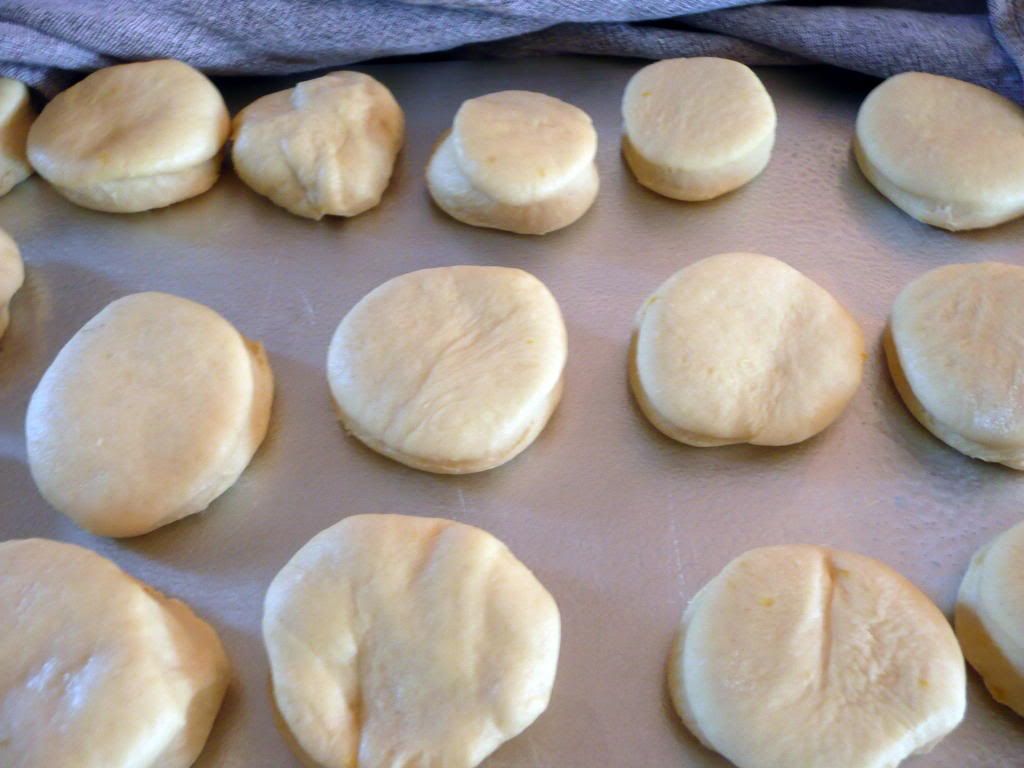
I'm now rolling these between 1/4" and 1/2" perhaps a little more toward 1/4". Just keep your thicknesses even!
Oh and I'm making minis with these thinner rounds. They do get up much faster so be careful.
Post a Comment